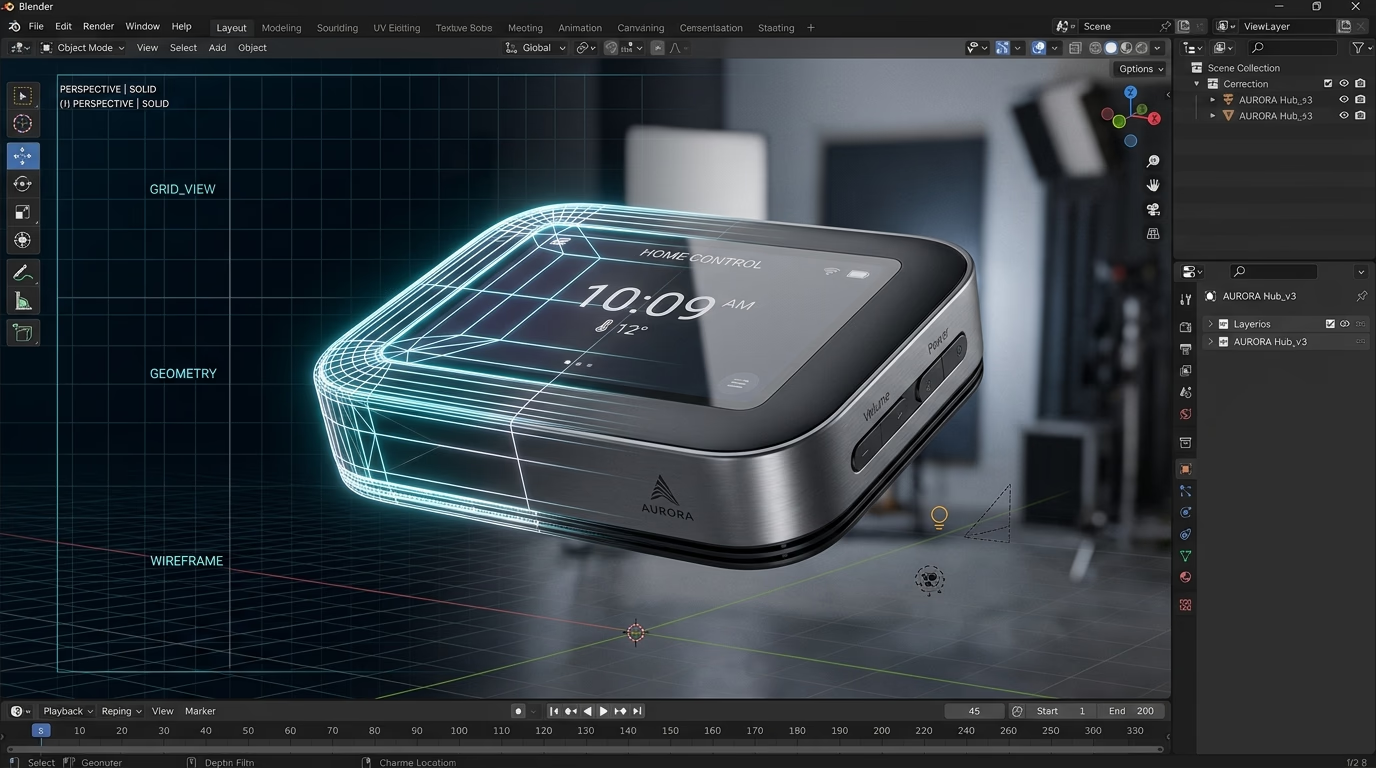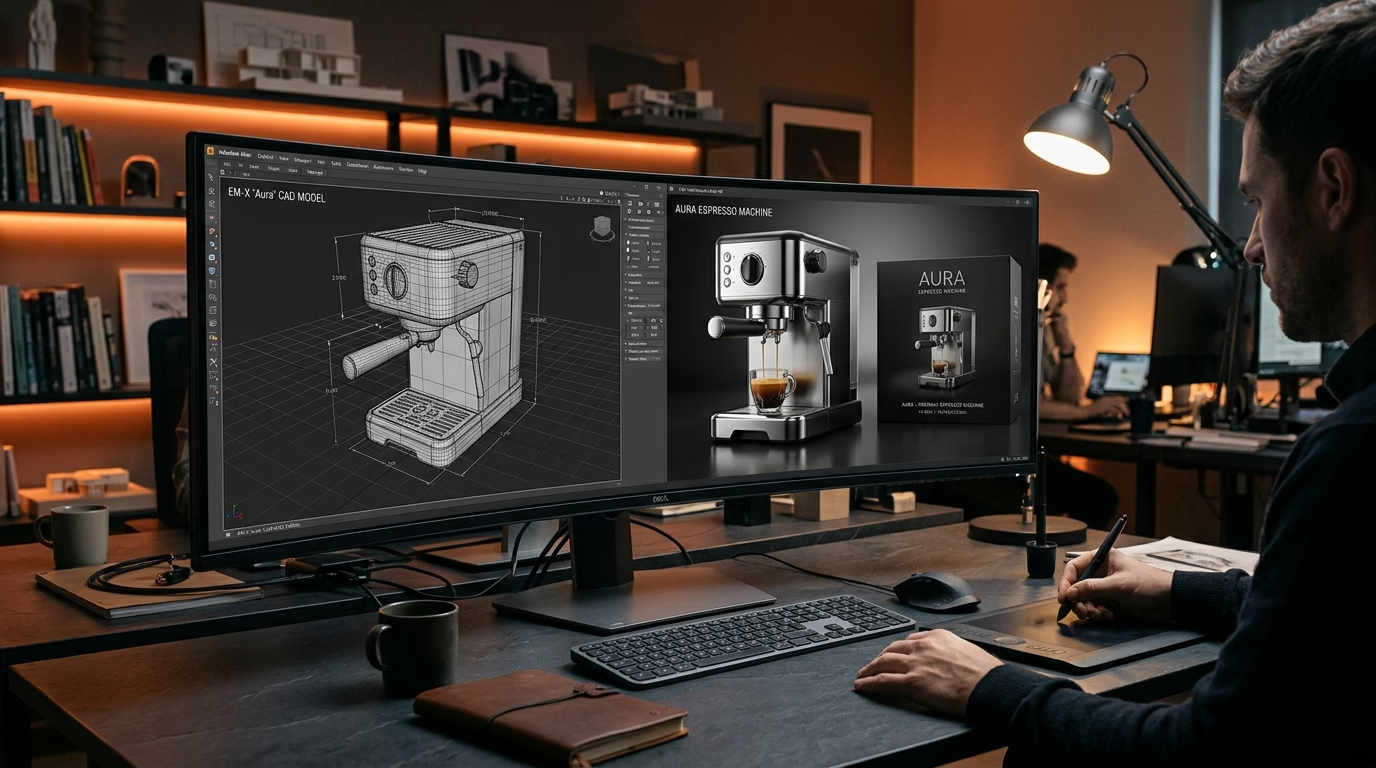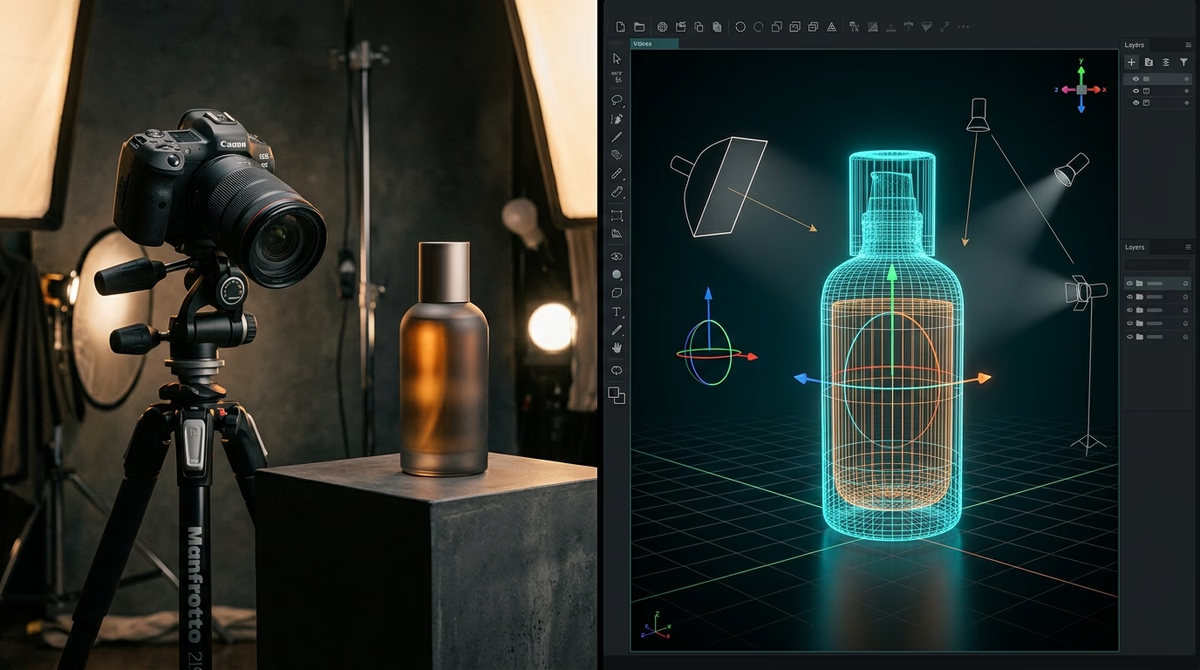

Choosing between product rendering vs product photography for Amazon depends on your product category, your variation count, and how frequently your packaging updates. A 3D digital render gives you absolute control over lighting, camera angles, and revisions. Physical photography captures the authentic tactile appearance of an existing item. Neither method is universally cheaper or better for every brand.
For a brand launching a single finished product with rich organic textures, a traditional studio shoot is often the fastest route. For a brand managing multi-flavor variations, reflective packaging, or preparing visual assets before factory production completes, 3D rendering offers decisive operational advantages. The right choice becomes clear when you compare the complete asset lifecycle rather than a single image's quote.
How Product Photography and 3D Rendering Differ
Traditional product photography uses a physical camera, studio lighting rigs, and physical staging to capture real inventory. A photographer sets up diffusers, positions the physical item, frames the shot, and hands raw captures to a retoucher to clean up blemishes, dust, and reflections.
With 3D product rendering, a technical 3D artist creates or imports a digital model, applies materials and vector packaging artwork, configures a virtual ray-traced lighting environment, and renders the image from exact digital camera coordinates. The digital twin originates from manufacturer CAD files (.STEP, .IGES), technical drawings, or physical reference measurements.
The difference matters because both methods depend on quality inputs. Physical photography records real-world surface finishes directly, but requires manual retouching to address glare, seam lines, and physical imperfections. A 3D render delivers mathematical precision, but an inaccurate digital model will produce a polished visual of the wrong product.
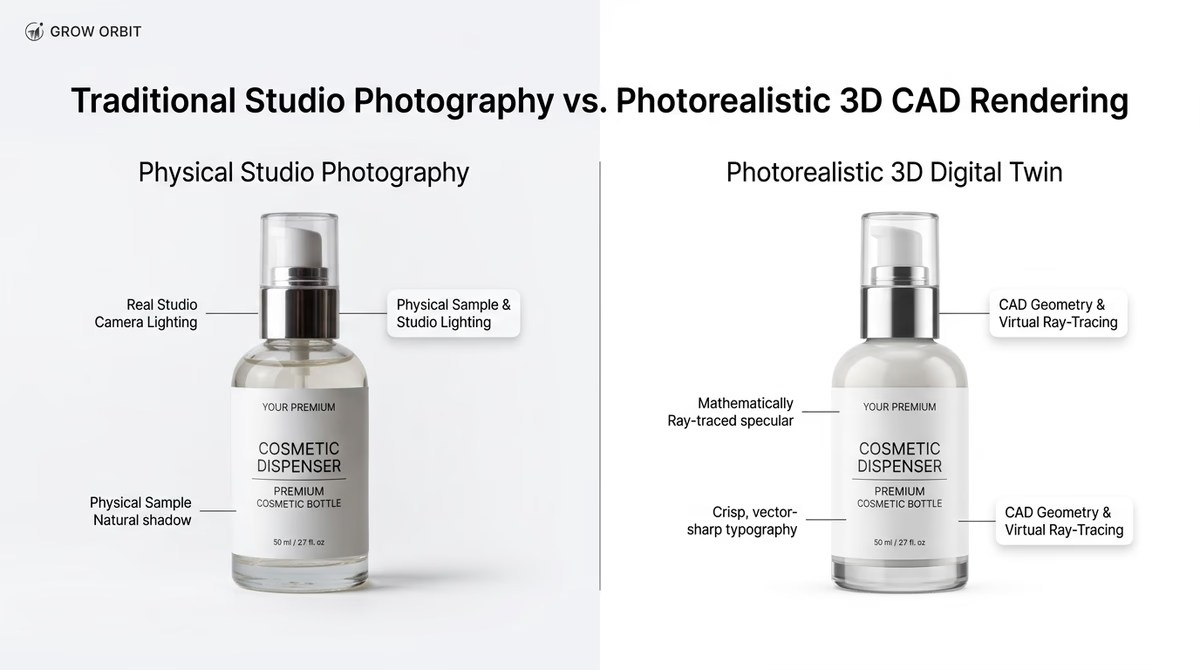
Note: A direct side-by-side comparison of physical studio photography (left: natural ambient reflections and shadow) versus a photorealistic 3D digital CAD twin (right: ray-traced lighting and pure #FFFFFF background).
Where Traditional Photography Creates Bottlenecks
Getting physical samples to the studio
Physical photography requires finished, production-grade samples. For brands manufacturing overseas, producing, inspecting, air-shipping, and customs-clearing pre-production prototypes typically consumes 3 to 5 weeks before studio booking even begins. Damaged packaging during transit creates further delays.
In contrast, 3D rendering begins weeks earlier as soon as industrial CAD models and packaging dielines are finalized. This compresses launch schedules and allows marketing teams to finalize visual assets while production inventory is still in transit.
Managing glare, reflections, and surface flaws
Glass dropper bottles, amber jars, gloss plastic packaging, and chrome components create severe reflection hurdles in physical studios. Ambient studio glare frequently obscures label text or casts unwanted highlights. Under macro studio lighting, microscopic dust, fingerprints, and shrink-sleeve seam flaws require hours of manual Photoshop retouching.
In a 3D digital scene, designers control ray-traced specular highlights, subsurface scattering, and reflections with mathematical precision—producing flawless surfaces without physical retouching.
Repeating shoots after product updates
A minor formula update, revised FDA disclaimer, updated cap finish, or new colorway often forces an entirely new physical studio shoot. Booking studio time, shipping new samples, and matching previous camera angles quickly multiplies catalog expenses.
A reusable 3D digital twin cuts revision time in half. Swapping packaging artwork or testing a new background setting takes under an hour without re-shipping inventory or rebuilding physical sets.
Why Amazon Sellers Use 3D Product Rendering
Across the 8-figure Amazon brand catalogs we manage at Grow Orbit, we consistently find that CPG, wellness, and electronics brands reduce multi-variation production costs by 35% to 50% by leveraging reusable 3D CAD assets. When a brand launches six flavors or sizes sharing identical packaging geometry, building one master digital twin cuts asset lead times from weeks to days.
Catalog-wide consistency across variations
Maintaining identical camera heights, focal lengths, and lighting angles across 10 physical SKU shoots is notoriously difficult. Physical cameras shift; lighting positions vary between shoot days. A 3D digital studio locks camera coordinates and ray-traced lighting rigs, guaranteeing identical perspective and scale across every child ASIN.
Precise control over complex compositions
A digital scene gives creative directors total freedom over lighting, materials, and camera perspectives without renting physical props. Once a product model is built, the same asset effortlessly populates a pure white main image, dimensional graphics, exploded internal views, and photorealistic A+ Content layouts.
Pre-manufacturing listing readiness
Rather than waiting for cargo shipments to arrive at Amazon FBA fulfillment centers, 3D assets allow sellers to finalize main images, secondary infographics, and A+ Content weeks in advance. Listings go live with full visual readiness on day one of inventory check-in.
Which Amazon Categories Benefit Most from 3D Rendering?
The effectiveness and compliance of 3D rendering depends heavily on what you sell.
Where 3D rendering dominates on Amazon:
- Dietary Supplements & Wellness: Powder tubs, capsule bottles, and blister packs benefit from identical bottle angles, crisp Supplement Facts rendering, and zero shrink-sleeve seam distortion.
- Cosmetics & Skincare: Eliminates amber bottle glare, specular reflections on metallic pumps, and imperfect dropper alignments.
- Consumer Electronics & Hardware: Enables exploded internal component views, ray-traced port details, and transparent material cutaways that cameras cannot physically capture.
- Boxed CPG & Household Goods: Provides razor-sharp box corners, uniform lighting, and vector-clean packaging typography.
Where traditional studio photography remains superior:
- Apparel, Fashion & Footwear: Fabric drape, seam elasticity, and movement on real human models drive purchasing confidence. In addition, Amazon's apparel category style guides strictly prohibit digital mannequins or rendered graphics for main images.
- Handmade & Leather Goods: Organic grain patterns, distress marks, and artisanal imperfections convey quality that digital shaders can make look artificially plastic.
- Fresh Food & Gourmet Groceries: Appetizing food styling, genuine grill marks, and steam trigger cravings that 3D renders rarely match.
Cost and Speed Comparison: 3D Rendering vs Studio Photography
The fairest comparison evaluates the total cost of the complete asset set across its entire lifecycle, including setup, variations, and future revisions.
How much does product photography cost?
Shopify's January 2026 product photography pricing benchmark estimates general commercial rates between $50 and $350 per image, or $500 to $3,000 for a full studio day. For dedicated Amazon listing packages (main hero image + 6 secondary infographic/lifestyle slides), physical photography studios typically charge between $1,200 and $2,500+ per SKU once sample handling, prop sourcing, model fees, and post-production retouching are included.
How much does 3D product rendering cost?
Unlike photography, 3D rendering pricing splits between initial asset construction and subsequent angle rendering:
- Initial CAD Modeling & Shader Setup ($150 to $450 per SKU): Constructing the digital geometry, applying packaging dielines, and calibrating surface materials (e.g., frosted glass, brushed aluminum, matte plastic). Complex mechanical assemblies or multi-part appliances typically cost $500 to $900+.
- Subsequent Render Angles & Variation Swaps ($35 to $95 per image): Once the master digital model exists, rendering new camera angles, ingredient callout close-ups, or label colorways requires minimal incremental labor.
- Complete Amazon 7-Image 3D Package ($600 to $1,400 per SKU): Delivers a main white-background render, 3 feature infographics, 2 digital lifestyle composites, and a dimensional breakdown.
For catalogs with multiple variations or products that undergo regular packaging refreshes, 3D rendering consistently delivers a lower cost per asset over a 12-month window.
How to Move Your Amazon Catalog to 3D Assets
A successful rendering workflow starts with precise technical documentation, not with digital lighting effects.
- Gather product references. Manufacturer CAD or STEP files establish exact dimensions and geometric curves. Supplement CAD models with high-resolution reference photos, caliper measurements, and approved color codes.
- Provide finalized vector packaging artwork. Share original packaging dielines in vector
.AIor print-ready.PDFformat alongside Pantone or HEX specifications. Never ask a 3D designer to recreate ingredient panels or regulatory text from a compressed photo. - Approve the base model before producing final angles. Carefully inspect bottle proportions, seams, closures, caps, and label alignment before commissioning secondary infographics or lifestyle scenes.
- Define listing image slots. Plan specific deliverables for your main white-background hero, secondary benefit callouts, and A+ Content modules. Each placement serves a distinct customer decision step.
- Verify listing compliance. Compare final outputs against physical production samples. Confirm that colors, included accessories, and proportions match what the customer will unpack.
For example, in our Kazvo Home & Auto case study, converting technical sprayer CAD models into photorealistic 3D digital twins eliminated reflection glare across metallic nozzles and cut line-extension production time from weeks to hours. If you want to evaluate 3D rendering for your catalog, explore our Amazon 3D product rendering workflow.
Does Amazon Allow 3D Renders for Main Listing Images?
Do not assume that every photorealistic 3D render is automatically accepted as an Amazon main image.
Amazon's official Product Image Guide mandates that the main image must accurately depict the real product, appear realistic and professional, occupy approximately 85% of the frame, and sit on a pure white background (RGB 255, 255, 255). Unrelated accessories, digital watermarks, and confusing props are strictly prohibited.
Additionally, Amazon enforces category-specific rules outlined in its product page style guides. In categories like apparel, shoes, and jewelry, Amazon guidelines explicitly require photographs of the physical product on real models or flat-lays, prohibiting computer-generated renders or digital mannequins.
For hard goods, electronics, and packaged consumer goods, photorealistic 3D renders that perfectly match the physical product are widely utilized across top-selling brands. However, if your product category guidelines mandate an authentic photograph or if material authenticity is uncertain, a physical studio photograph remains the safer choice.
Frequently Asked Questions
What is the difference between product rendering and photography?
Product photography captures physical goods using a studio camera and real lights. 3D rendering generates images from a digital model inside computer software, giving designers complete control over lighting, camera angles, materials, and virtual environments without handling physical objects.
Is 3D rendering cheaper than traditional product photography?
For a single, simple product that is already manufactured, traditional photography often has a lower upfront cost. However, for catalogs with multiple variations, ongoing packaging refreshes, or reflective materials, 3D rendering delivers substantial savings by reusing the master 3D model for future angles and variants.
Can 3D renders be used for Amazon main images?
Yes, for many hard goods, packaged goods, and electronics categories, provided the render is photorealistic, accurate, framed to 85% of the canvas, and placed on pure white (#FFFFFF). However, certain categories like apparel strictly forbid renders in their category style guides. Always check your specific category rules before uploading.
What files do I need to provide for an Amazon 3D rendering project?
Provide mathematical CAD geometry (.STEP, .STP, .IGES, or .OBJ files) from your manufacturer. For packaging and labels, provide vector dielines in .AI or print-ready .PDF format along with Pantone or HEX color specifications. If CAD files are unavailable, an artist can build the model from physical measurements and detailed reference photos.
Which Option Should You Choose?
Choose traditional photography when:
- You sell apparel, footwear, textiles, or jewelry where fabric drape and natural skin contact drive conversions.
- Your product features artisanal, handmade, or organic food textures where physical authenticity is essential.
- Your Amazon category style guide explicitly mandates physical photography.
Choose 3D rendering when:
- You sell packaged goods, supplements, cosmetics, or consumer electronics with reflective surfaces.
- You manage multiple colorways, flavors, or sizes sharing the same physical form factor.
- You need to build high-converting listing assets weeks before factory manufacturing completes.
Many leading Amazon brands adopt a hybrid model: utilizing physical photography for on-model lifestyle images while relying on 3D digital twins for razor-sharp main hero images, dimensional infographics, and A+ Content modules. For practical advice on building photorealistic models and exploded views, read our comprehensive guide on 3D rendering for Amazon.
Need help deciding which of your Amazon listings are good candidates for rendering? Book a zero-pressure review with our creative team.
📅 BOOK A FREE 3D RENDERING AUDIT